Homemade Clotted Cream: Better Than Store-Bought & Easy
Imagine a velvety, rich, and slightly sweet spread that elevates your scones, fruit, and desserts to an entirely new level. That, my friends, is clotted cream. While often seen as an exclusive British delicacy found only in specialty stores or tea rooms, the truth is, learning how to make clotted cream at home is surprisingly simple and yields a product far superior to most commercial versions. Forget the bland, thin imitations; your homemade clotted cream will boast an unparalleled depth of flavor and luscious texture that will have everyone asking for your secret recipe.
This comprehensive guide will demystify the process, taking you from a single, key ingredient to a jar of golden, creamy perfection. We'll explore its fascinating history, the science behind its unique texture, and provide detailed, actionable instructions for various methods, ensuring your success in creating this beloved British treat.
What Exactly is Clotted Cream? A Brief History and Definition
Clotted cream, also known as English Clotted Cream, Devonshire cream, or Cornish cream, holds a revered place in British culinary traditions, particularly in the South West of England – the counties of Devonshire and Cornwall being its historical heartlands. Legend has it that this delightful spread was introduced to England by Phoenician settlers some 2,000 years ago, making it a truly ancient indulgence. Its name, "clotted," perfectly describes its unique texture: a thick, dense cream with delightful golden 'clots' formed on the surface.
Scientifically, clotted cream is a thickened dairy product with a fat content around 68%. This is significantly higher than heavy whipping cream (around 36%) or double cream (around 48%). The magic happens through a slow, gentle heating process. As cream is baked at a low temperature for an extended period, the cream and milk fats slowly rise to the top, congeal, and form these distinctive clots. Once cooled, these thick layers are skimmed off, revealing the iconic, buttery-rich spread we adore. Its consistency is often compared to a softened butter or a very thick crème fraîche, offering a rich, nutty, and subtly sweet flavour profile that's truly unique.
Why Make Clotted Cream at Home? The Unbeatable Taste & Benefits
While store-bought clotted cream is available, few can compare to the sublime experience of a homemade batch. There are several compelling reasons to embark on your own clotted cream making journey:
- Superior Flavor and Texture: Homemade clotted cream possesses a depth of flavour – rich, slightly sweet, and distinctively nutty – that is often muted in mass-produced versions. The texture is also far more authentic: wonderfully thick and spoonable, with those characteristic 'clots' that are a hallmark of true clotted cream.
- Control Over Ingredients: Making it yourself means you know exactly what goes into it – just pure cream. This allows you to avoid unnecessary additives, preservatives, or stabilizers often found in commercial products.
- Freshness Guaranteed: Your clotted cream will be at its peak freshness, offering the most vibrant taste and aroma.
- Cost-Effectiveness: Depending on where you live and the availability of specialty creams, making your own can often be more economical than purchasing imported or high-end store-bought versions.
- The Joy of Creation: There's immense satisfaction in creating something so luxurious from scratch. The process is meditative, and the result is incredibly rewarding.
Once you experience the creamy bliss of homemade clotted cream, you'll likely never look back at store-bought options again.
The Essential Ingredient: Choosing the Right Cream for Success
Success in how to make clotted cream hinges almost entirely on one crucial ingredient: the right kind of heavy cream. This isn't just any cream; its characteristics directly impact the clotting process and the final texture.
You'll need either heavy whipping cream (typically 36% fat content) or double cream (around 48% fat content). Both will yield excellent results, with double cream often providing an even richer, thicker final product due to its higher fat content. The higher-fat layer skimmed from milk before homogenization is essentially what cream is, and we're looking for a product that hasn't been overly processed.
Here's the most critical tip: The choice of cream is paramount! You absolutely must seek out heavy whipping cream that is not ultra-pasteurized. This detail cannot be overstated. Ultra-pasteurization involves heating cream to very high temperatures for a short period, which significantly alters its protein structure. While excellent for extending shelf life, this process can prevent the cream from properly clotting, leading to disappointing, thin results.
Ideally, look for cream that is minimally processed – either unpasteurized (if available and safe in your region) or regularly pasteurized. Always check the label carefully for the words "ultra-pasteurized" and avoid it. For a deeper dive into why unpasteurized cream is key and the science behind it, you can read our detailed guide: Clotted Cream Secrets: Why Unpasteurized Cream is Key. This distinction is the secret to achieving that authentic, thick, and clotted texture.
Your Kitchen, Your Clotted Cream: Step-by-Step Methods
Making clotted cream is a test of patience, not skill. The beauty lies in the low and slow cooking process. Here are the most popular and effective methods:
The Classic Oven Method (The Most Common & Easiest)
This is arguably the most traditional and hands-off method, perfect for letting the oven do all the work while you go about your day (or sleep!).
Tools You'll Need:
- A large, oven-safe baking dish (e.g., a 9x14 inch ceramic, glass, or stainless steel dish). A larger surface area will maximize the amount of clotted cream you yield.
Instructions:
- Prepare the Cream: Pour your non-ultra-pasteurized heavy cream or double cream into the oven-safe dish. Aim for about 1-2 inches deep.
- Bake at Low Temperature: Place the dish on the middle rack of your oven. Bake at a very low temperature, around 175°F (80°C), for a full 12 hours. The goal is a gentle, slow cook, not a boil. You'll know it's ready when a bubbly, golden-yellow surface with thick "clots" has formed across the entire top.
- Cool Down: Once done, carefully remove the dish from the oven and allow it to cool completely at room temperature (ideally around 76°F/24°C) for several hours. This gradual cooling is essential for the fats to properly set.
- Chill and Set: Once cool, cover the dish and transfer it to the refrigerator overnight. This final chilling period allows the clotted cream to firm up to its ideal consistency.
- Skim and Store: The next morning, use a slotted spoon or spatula to carefully skim off the thick, golden clotted cream from the top. Transfer it to an airtight container. The liquid underneath (which is essentially buttermilk) can be discarded or used in other recipes.
Pro Tip: If your oven tends to switch off automatically after a certain number of hours, ensure you override this setting or monitor it closely. Many modern ovens have a "keep warm" or similar function that might work, but always double-check the temperature.
Slow Cooker/Crock Pot Method (Gentle & Convenient)
The slow cooker offers another excellent, largely hands-off approach, mimicking the oven's gentle heat.
Tools You'll Need:
- A slow cooker, Crock-Pot, or Instant Pot (used on slow cook function).
- A heat/shock-resistant dish that fits inside your slow cooker (e.g., a ceramic bowl or small oven-safe dish).
Instructions:
- Prepare the Water Bath: Pour 1-2 inches of water into the inner pot of your slow cooker.
- Add the Cream: Pour your cream into the smaller, heat-resistant dish, aiming for about 1-2 inches deep. Gently place this dish into the water bath inside your slow cooker. The water should slightly float the cream bowl.
- Cook Low and Slow: Cover the slow cooker with its lid and cook on the lowest setting (or around 175°F/80°C if your slow cooker allows temperature control) for a total of 12 hours.
- Monitor Temperature: It's crucial to keep a close eye on the water level, adding more hot water if needed to maintain it. Also, periodically crack the lid slightly to release some heat and prevent the water from boiling (212°F/100°C is too hot and can scorch the cream). You want gentle warmth, not vigorous boiling.
- Cool, Chill, and Skim: Once the bubbly, yellow surface forms, follow the same cooling, refrigeration, and skimming steps as the oven method.
Stove Top Method (Quickest, but Requires Attention)
While less common for traditional clotted cream, a stovetop method can be used for a quicker (though more attentive) approach to a similar thickened cream.
Tools You'll Need:
- A large, non-reactive, heavy-bottomed pan (ceramic, enamel, glass, or stainless steel).
Instructions:
- Gentle Heat: Pour your cream into the heavy-bottomed pan. Cook on the absolute lowest heat setting on your stovetop.
- Constant Stirring: This is key for the stovetop method. You must stir frequently, almost constantly, for about 30 minutes or more, to prevent the cream from scorching on the bottom. You are looking for it to visibly thicken, but not boil or caramelize.
- Cool and Chill: Once thickened to your desired consistency, remove from heat, allow to cool, then refrigerate to set. Note that this method might not produce the distinctive "clots" as prominently as the oven or slow cooker methods, but will still yield a delicious, thick cream.
For more detailed step-by-step visuals and specific oven and slow cooker tips, be sure to check out our companion guide: Easy Homemade Clotted Cream: Oven & Slow Cooker Guide.
Storing Your Homemade Clotted Cream
Once you've successfully skimmed your glorious homemade clotted cream, transfer it to an airtight container. Stored in the refrigerator, it will keep beautifully for about 5-7 days. Its rich texture also means it can be frozen for up to a month, though some slight textural changes might occur upon thawing. To enjoy, simply bring it to room temperature for about 15-30 minutes before serving to allow it to soften to its perfect spreadable consistency.
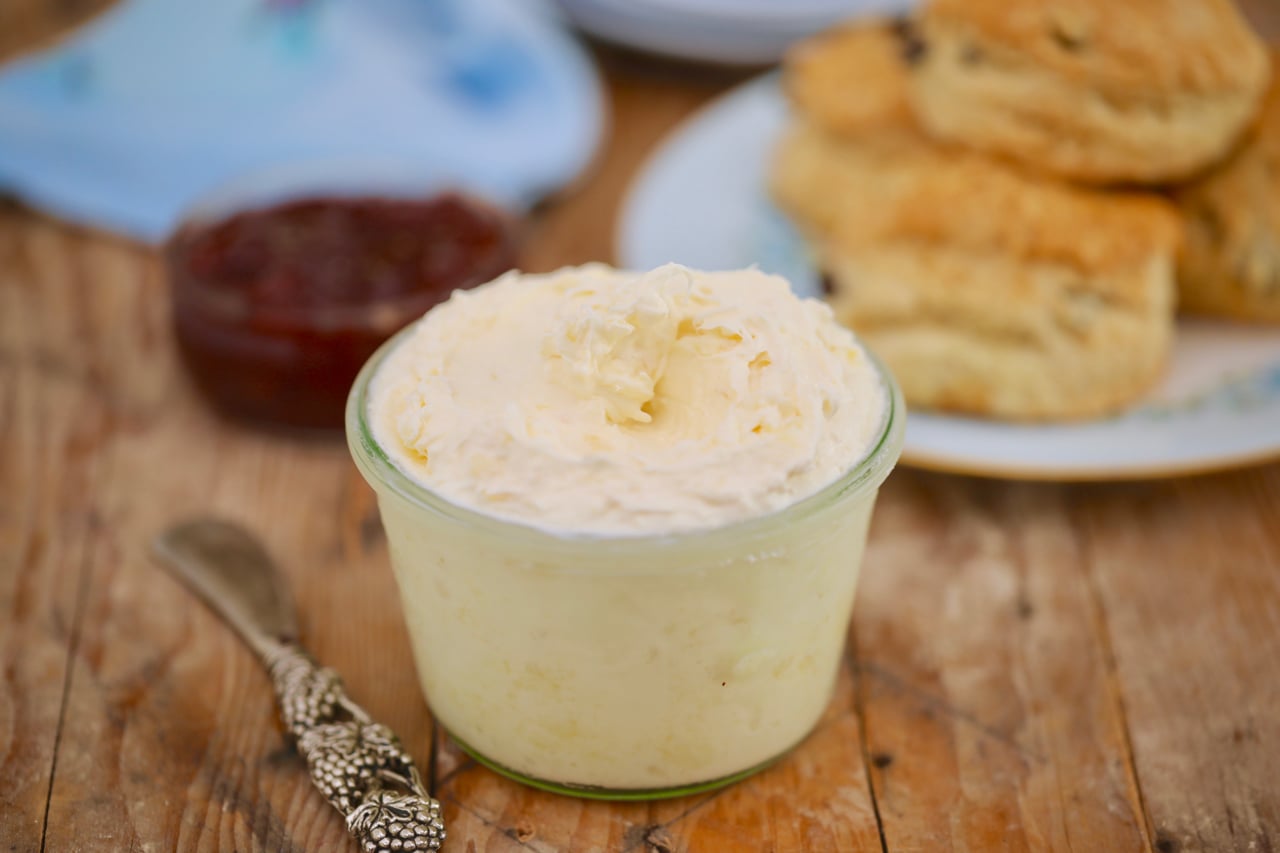
Serve your magnificent homemade clotted cream traditionally with warm scones and a dollop of strawberry jam for the ultimate cream tea experience. It's also heavenly with fresh berries, fruit tarts, pancakes, waffles, or simply enjoyed straight from the spoon!
Making clotted cream at home is an immensely rewarding culinary adventure. It requires minimal effort and only one ingredient, yet delivers a luxurious, flavourful product that far surpasses its store-bought counterparts. By understanding the importance of the right cream and embracing the low-and-slow cooking process, you can effortlessly master how to make clotted cream and bring a touch of British elegance to your own kitchen. So, gather your ingredients, set aside the time, and prepare to indulge in the creamy, rich goodness of truly authentic homemade clotted cream.
