Easy Homemade Clotted Cream: Oven & Slow Cooker Guide
There’s nothing quite like the luxurious, rich taste of authentic clotted cream. This velvety, golden delight is the quintessential accompaniment to scones, berries, and a proper afternoon tea. While often associated with quaint British tearooms, learning
how to make clotted cream at home is surprisingly simple, yielding a product that far surpasses most store-bought alternatives in flavor and texture. If you've ever dreamt of recreating that perfect cream tea experience, this comprehensive guide will walk you through two foolproof methods: the oven and the slow cooker. You'll soon discover why homemade truly is better, offering a depth of flavor that's both nutty and subtly sweet, making every bite an indulgence. For a deeper dive into why making it yourself is such a game-changer, check out our article on
Homemade Clotted Cream: Better Than Store-Bought & Easy.
The History and Mystique of Clotted Cream
Clotted cream, also known as English Clotted Cream, boasts a history stretching back millennia, with some historians tracing its origins to Phoenician settlers in England around 2,000 years ago. It found its most famous home in the South West of England, particularly in the counties of Devonshire and Cornwall. These regions have been synonymous with clotted cream production for centuries, leading to its affectionate alternative names: Devonshire cream (or Devon Cream) and Cornish cream.
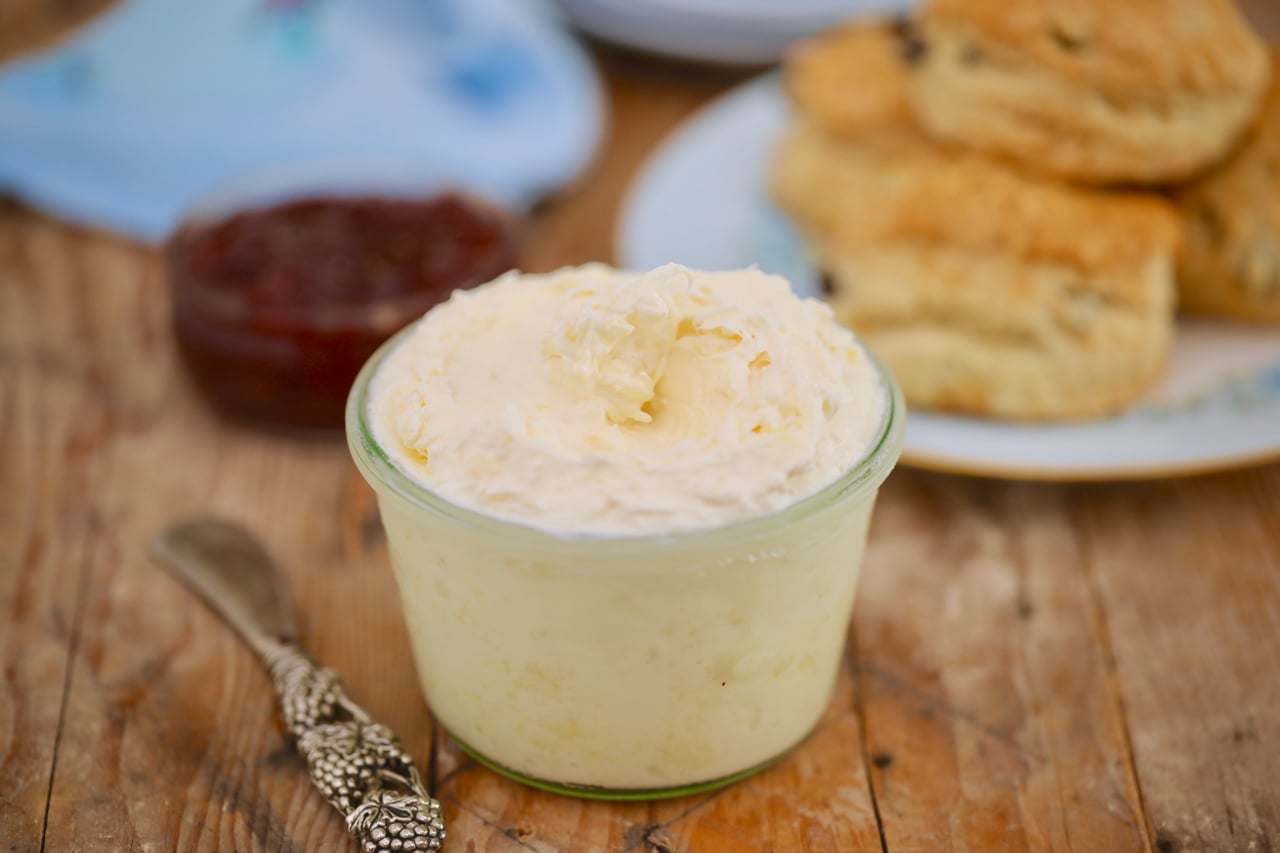
But what exactly is clotted cream? It's a thickened cream, distinguished by its incredibly high fat content, typically around 68%. This unique texture and richness are achieved by gently baking or slow-cooking a high-fat cream at a low temperature for an extended period. The gentle heat causes the cream’s fat and solids to slowly rise to the surface, forming the characteristic "clots" or "crust" that are then skimmed off. This process is key to its distinct texture, which is often described as being similar to crème fraîche or softened butter, with a wonderfully rich, nutty, and slightly sweet flavor profile.
The Essential Ingredient: Choosing Your Cream Wisely
While the process of
how to make clotted cream is simple, the choice of your key ingredient is paramount: heavy (whipping) cream or double cream. The success of your clotted cream hinges almost entirely on the quality and type of cream you use.
*
Heavy Cream (Heavy Whipping Cream): This typically has a fat content of around 36%.
*
Double Cream: More common in the UK, this boasts an even higher fat content, usually around 48%.
Both will yield excellent results, but there's one critical caveat:
avoid ultra-pasteurized cream. Ultra-pasteurization involves heating cream to very high temperatures for a short period, which alters the proteins in a way that can prevent the cream from properly clotting. For the best outcome, seek out cream that is regular pasteurized, or ideally, unpasteurized if available and safe in your region. The higher the fat content and the less processed the cream, the better your chances of achieving that perfect, thick, golden crust. To understand more about this crucial detail, read our guide on
Clotted Cream Secrets: Why Unpasteurized Cream is Key.
Beyond the cream, you'll need minimal equipment. A large oven-safe baking dish (around 9x14 inches is ideal) or a slow cooker are the primary tools. For the slow cooker method, you'll also need a smaller heat-resistant bowl that fits inside your slow cooker.
Method 1: Oven Baked Clotted Cream – The Traditional Approach
The oven method is arguably the most traditional and often yields a beautifully consistent result. It requires patience but very little active participation once it’s set.
What You’ll Need:
- Large oven-safe baking dish (ceramic, glass, or stainless steel)
- 1 quart (around 4 cups) heavy whipping cream or double cream (not ultra-pasteurized)
Step-by-Step Instructions:
- Prepare Your Dish: Pour the heavy cream into your oven-safe baking dish. A larger surface area will allow more of the cream to be exposed to the heat, which can lead to a greater yield of clotted cream. Aim for a layer of cream about 1 to 1.5 inches deep.
- Preheat Oven: Set your oven to a very low temperature, ideally 175°F (80°C). Accuracy here is key; too high, and your cream will cook or brown too quickly; too low, and it might not clot effectively.
- Bake, Don't Boil: Place the dish on the middle rack of your preheated oven. Bake for a long, slow 12 hours. The goal is a gentle "cooking" process, not boiling. You'll know it's ready when a bubbly, yellowish, thick crust forms across the entire surface of the cream. The edges might turn a slightly darker golden brown, which is perfectly normal and adds to the nutty flavor.
- Cool Down: Once the crust has formed and the cream beneath it has thickened, carefully remove the dish from the oven. Allow it to cool completely at room temperature (around 76°F/24°C) for several hours. This gradual cooling is important for the setting process.
- Refrigerate Overnight: Once cooled, cover the dish tightly with plastic wrap or a lid and transfer it to the refrigerator. Let it chill and set overnight, or for at least 8-12 hours. This extended refrigeration time allows the fats to fully solidify and the clots to firm up.
- Skim and Enjoy: The next day, you’ll find a solid, thick layer of clotted cream on top. Use a slotted spoon to carefully skim off the clotted cream from the liquid whey underneath. Transfer the clotted cream to an airtight container. The remaining liquid whey can be discarded or used in baking.
Oven Method Tips & Tricks:
- Oven Calibration: If you suspect your oven runs hot or cold, consider using an oven thermometer for accuracy.
- Auto Shut-Off: Be aware if your oven has an automatic shut-off feature after a certain number of hours. If so, you might need to restart it or opt for the slow cooker method.
- Don't Disturb: Resist the urge to open the oven door frequently during baking, as this can disrupt the even temperature.
Method 2: Slow Cooker Clotted Cream – The Hands-Off Alternative
The slow cooker method offers a slightly different approach, often preferred for its even, consistent heat and minimal supervision. It uses a gentle water bath to ensure the cream never gets too hot.
What You’ll Need:
- Slow cooker (Crock-Pot or Instant Pot on slow cooker setting)
- Heat-resistant bowl that fits inside your slow cooker (e.g., ceramic, glass, or stainless steel)
- 1 quart (around 4 cups) heavy whipping cream or double cream (not ultra-pasteurized)
- Water
Step-by-Step Instructions:
- Prepare Cream Bowl: Pour the heavy cream into your heat-resistant bowl. Aim for a cream depth of about 1-2 inches.
- Set Up Water Bath: Place the cream-filled bowl inside the ceramic insert of your slow cooker. Carefully pour 1-2 inches of water into the slow cooker, around the outside of the cream bowl. The water should come up slightly around the cream bowl, but not so high that it might bubble into the cream. The water bath ensures a gentle, indirect heat.
- Cook Low and Slow: Cover the slow cooker with its lid. Set it to the lowest possible setting (often "Warm" or "Low" if it provides a very low temperature, aiming for that 175°F/80°C mark). Cook for approximately 12 hours.
- Monitor & Adjust: Keep a close eye on the process, especially during the latter half. You want to see the characteristic bubbly, yellowish surface forming. Crucially, ensure the water in the slow cooker does not come to a rolling boil (212°F/100°C is too hot and can scorch the cream or prevent proper clotting). If it looks like it's getting too hot, slightly crack the lid to release some steam and lower the temperature, or add a bit more cool water. You may also need to add more hot water to the slow cooker throughout the process to maintain the water level.
- Cool and Refrigerate: Once a thick, golden crust has formed, turn off the slow cooker. Carefully remove the cream bowl (it will be hot!) and let it cool completely at room temperature. Cover and refrigerate overnight, just as with the oven method.
- Skim and Store: The next morning, skim off the thick clotted cream using a slotted spoon and transfer it to an airtight container. Discard the remaining whey.
Slow Cooker Method Tips & Tricks:
- Temperature Control: Some slow cookers run hotter than others. Get to know your appliance. The "Warm" setting is often ideal if your slow cooker's "Low" is too hot.
- Water Level: Regularly check the water level around your cream bowl. If it evaporates too much, the direct heat could be too harsh.
- Lid Condensation: Be mindful of condensation under the lid; sometimes placing a paper towel under the lid can absorb excess moisture and prevent it from dripping back into the cream.
Serving Suggestions and Storage
Once you’ve mastered
how to make clotted cream, the real fun begins: enjoying it! The classic pairing is, of course, with warm, freshly baked scones and a dollop of strawberry jam. Remember the famous debate: cream first (Cornish method) or jam first (Devon method)? Either way, it’s heavenly!
Beyond scones, clotted cream is incredibly versatile:
- Fresh Berries: A simple yet elegant dessert with strawberries, raspberries, or blueberries.
- Fruit Tarts: A luxurious topping for any fruit-based tart or pie.
- Pancakes & Waffles: Elevate your breakfast or brunch with a spoonful.
- Desserts: Dollop it on apple crumble, gingerbread, or even chocolate cake for an extra layer of richness.
Storage: Homemade clotted cream should be stored in an airtight container in the refrigerator. It will typically last for 5-7 days. Always use a clean spoon each time you serve it to prolong its freshness.
Conclusion
Learning
how to make clotted cream at home is a rewarding culinary adventure. It transforms a single ingredient into a gourmet delight with minimal effort, simply requiring time and patience. Whether you opt for the steady warmth of the oven or the gentle simmer of the slow cooker, the result is an undeniably superior product – rich, creamy, nutty, and utterly irresistible. So gather your cream, set aside some time, and prepare to impress your taste buds and guests with this timeless British classic. Enjoy the satisfaction of creating something truly special in your own kitchen!